
Plastering a wall can be challenging for any beginner. But chances are if you’ve done DIY before you’ll know how to patch up a hole to some degree. Knowing how to plaster the wall is a great skill that comes in handy for any renevation project.
So let’s take a closer look at how to plaster the wall and what you’ll need to get the perfect finish.
Wall Plastering Basics
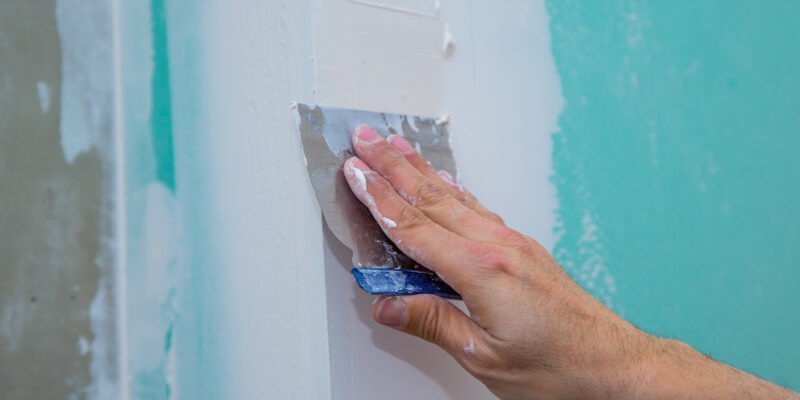
When plastering a wall, the first step is to plaster the external corners of the wall. Then use a trowel for spreading and a float for application. Apply plaster to complete the entire wall surface before finishing corners. Finally, apply the material onto the ceiling as well. It’s important to note that only one layer of plaster should be applied at a time and that it should be allowed to dry completely before doing anything else (approximately 20 minutes between each application). If there are any imperfections, avoid sanding them down–it’s best to prime the walls before painting instead. And finally, wait at least 24 hours after plaster dries before painting in order to get optimal results.
Types of Plaster and Mortar
There are a variety of types of plaster and mortar, but they all have the same goal – protecting building surfaces. In this article, we’ll take a look at the three most common types: gypsum plaster, cement plaster, and heat-resistant plaster.
Gypsum plaster is created by heating gypsum or calcium sulfate to form a powder which is then mixed with water to create a paste. It sets quickly and is easy to use, making it popular for interior walls and ceilings.
Cement plaster is made from cement, water, and sand or another aggregate material. It dries slowly but sets hard, making it ideal for exterior applications where durability is important.
Heat-resistant plaster differs from fire-resistant plaster because it does not contain asbestos fibers; instead of using feldspars (an aluminum silicate) in the raw state, heat-resistant plaster uses a mixture of clay and lime to create a paste which is then heated to form a liquid that sets on cooling into various shapes such as blocks or sheets
Mixing the Plaster and Mortar
When you’re mixing plaster and mortar, it’s important to follow the instructions carefully. If you don’t mix it correctly, your plaster won’t set properly and will be weak.
There are a few things to keep in mind when mixing the two substances: always scrape your bucket before adding more plaster, mix the plaster and water in an electric drill with a paddle attachment to create a smooth consistency, and mix the mixture until you have a thick, whipped cream consistency–when you remove the paddle from your mixture, it should leave a hole in it.
If you’re using a power mixer for larger jobs, make sure to avoid overworking the mixture. Otherwise, your plaster will end up too dry and will crack as it sets.
Applying the Plaster to the Wall
When it comes to plastering a wall, there are three simple steps that you need to follow in order for the process to be successful. The first step is to make the most popular, which will act as the glue that seals the pores of the drywall. In addition, make sure that you dilute PVA in a 1:4 ratio – one part PVA and four parts water. This mixture will help ensure that your plaster sticks well to the wall and provides a good finish.
Once you have mixed together your ingredients, it’s time to start applying them! Make sure that you apply PVA mixture onto brush before applying it onto wall. Be sure to check that entire surface is covered before moving on. If needed, repeat this step until desired coverage is achieved.
Once the first layer of plaster has dried, you can then apply a second layer using diluted PVA. Let this dry completely before moving on or adding any additional decoration or paintwork!
Finishing the Plastering Job
Now that you have applied the plaster to the wall, you will need to wait for it to dry. The general rule of thumb is that it should take approximately 24 hours for the plaster to be completely dry. However, if you are in a hurry you can apply a light coat of paint after just four hours. Make sure that the surface is smooth before painting though!
Once the plaster has dried, you might want to consider sanding it down so that it has a nice finish. Start with medium-grit sandpaper and work your way up to finer grits if needed. Keep in mind that sanding will create dust, so make sure you are wearing a mask and goggles while doing this!
After sanding, give the surface a good clean with a wet cloth and allow it to dry completely before starting painting.
Hire a Master Plasterer
If in doubt always hire a good plasterer who can give you the best finish possible. At the end of the day, if you aren’t enjoying it then there’s no point in putting yourself through that stress. But if you’re the sort of person that likes to get your hands dirty then plastering is very rewarding!
Keep reading for more DIY advice!
