You probably spend countless hours in your kitchen every week, and it’s one of the most important rooms in your home. After all, it’s where you cook and serve all of your meals. When it comes to giving your kitchen cabinets a new facelift, painting them is among the easiest ways to make a big impact on their appearance.
Painting cabinets, when done well, can give a durable finish and look much more expensive than it actually is. Plus, once you get the hang of it, it becomes much easier to do each time after that.
In this article, we’ll explain everything from what paint colors to choose and how to prepare for painting your kitchen cabinets with ease. It may seem like a lot of information at first for a DIY project, but trust us – once you know these insider tips, you’ll wonder how you ever lived without them!
List of Tools and Hardware
Start off by preparing the tools and equipment you need for the job. You’ll need:
- A Sponge
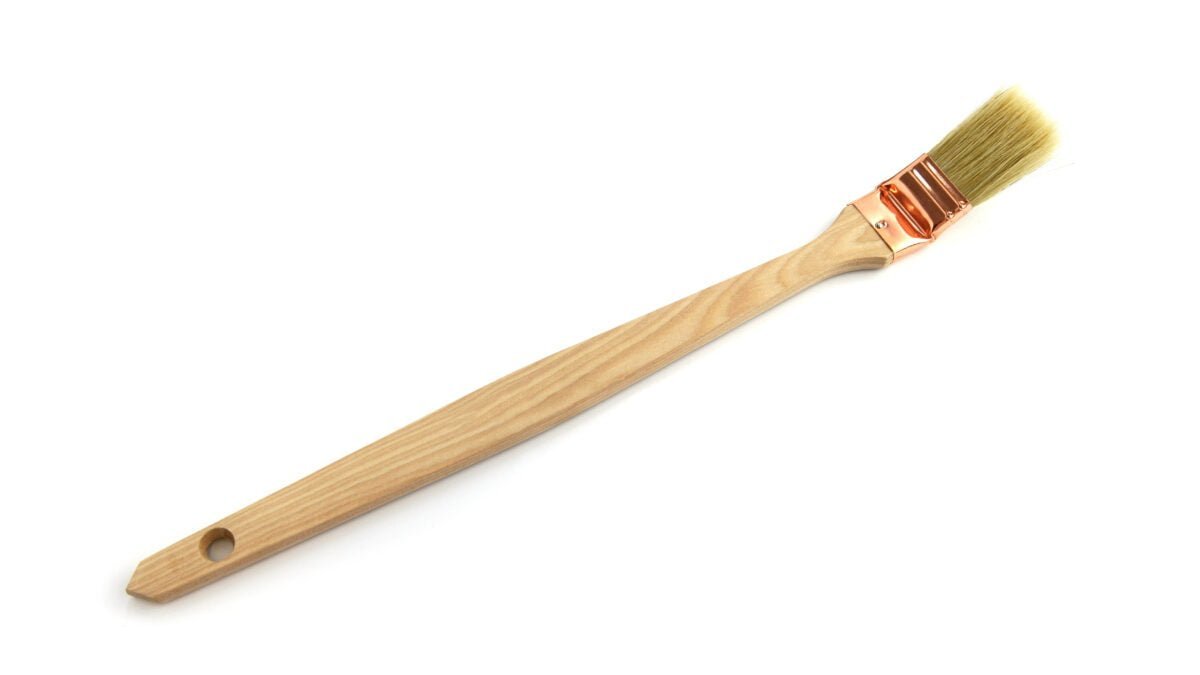
- Paint Brush Set
- Latex Primer
- Degreaser Spray
- Water-Based Cabinet Enamel Paint
- Kitchen Roll and Towels
- Sandpaper
What Paint Should I Use?
There are many types of paint to choose from when it comes to painting your kitchen cabinets. From traditional paints that look like other household furniture, to more modern options that allow you to create an individual statement, there is something for everyone. If you’re looking for a fresh new look, a neutral colour can be the perfect fit.
A white kitchen can really brighten up a space with the right colour. Or try a pop of colour, like orange or red. Whatever your style, there is a paint colour that will work perfectly in your kitchen. Before you start painting your kitchen cabinets, make sure to prep the surface by sanding down any rough patches or surface imperfections.
With all paint products, avoid breathing dust or fumes and keep small children and pets away while painting. When it comes to choosing a paint colour, it’s all about personal preference. Some people prefer something bold and in-your-face, while others like their decor to be subtle and understated. Whatever your style is, it’s likely that there is a paint colour that you love.
Should I Use Oil Paint or Latex Paint?
Oil-based primers and paints aren’t always the best choice for cabinets. Oil-based paint requires thinner, such as turpentine, to thin the paint down enough to apply it properly. If you want to avoid having to buy thinner every time you change colors, look into water-based paints such as latex paints.
High-quality paint such as latex paints don’t require thinner and come ready mixed, making them easier to use. However, wet paints like these do require more work before the painting process to prepare the surfaces they’ll cover, and they have a longer dry time.
You’ll have to use primers on the wood first, sand it smooth, and apply several coats. Then, you’ll have to wait several hours between coats for each of the primers to completely dry. In colder weather, the dry time can be even longer. You also may need more coats of paint, especially if you’re moving to a lighter color.
Paint Brush vs Paint Sprayer vs Rollers
Whether you choose to brush your paint on or spray ultimately depends on your DIY skills.
The best way to apply paint is still a matter of debate among painters. Some swear by spraying, while others prefer brushing. But both methods have advantages and disadvantages. Here are some tips to consider before choosing either method.
Spray-painting requires less skill than brushing, making it easier to learn. But it takes longer to do, and you’re limited to what you can cover with spray paint. If you want to use spray paint, you’ll also need to buy a spray gun and some cans of spray paint, which can add up quickly. Plus, you’ll have to mask areas like cabinets and appliances, since you won’t be able to see where you’ve already painted.
On the other hand, using a synthetic bristle brush allows you to go over a surface multiple times without having to worry about covering every inch of it. And because you can apply latex paint with an angled brush, you don’t have to worry about getting fresh paint on surfaces you didn’t intend to.
Step-By-Step Guide
Step One – Prepare for the Painting Process
Before you start painting, make sure the room is ready for your project. Remove any furniture or decorations from the area and make sure all the surfaces are clean and dry.
Move any appliances that are in the way of your paint project, so you don’t damage them while you’re going through the painting process. Also don’t forget to open windows for ventilation!
Step Two – Remove Doors and Drawers
It’s best to remove your doors and drawers before painting, as they will be more difficult to paint over afterwards. Another option is to turn the cabinets around so that the handles are facing onto the wall, which you can easily paint.
If you’re going to keep your shelves in place, make sure you protect them from getting painted by using painters tape or painter’s cloth.

Step Three – Full Clean of All Surfaces
It’s important to prepare your cabinets before beginning the painting process. The first step is cleaning all the surfaces and using a degreaser if necessary. For example, you may need to clean the entire surface with soap and warm water on any of the wood cabinets in order to get a good paint job. Allow for drying time if needed.

Step Four – Box Preparation
The best way to get started is to prep the boxes. If you have a paint brush and a bucket, now is the time to use them. Use your brush to remove any dirt or debris on the side of the box. Then, dip your brush in some paint and start brushing it on the outside of the cabinet.
Keep dabbing at it until you have covered it with paint. You don’t have to worry if you make a mistake while painting because you can simply touch up and cover up any mistakes with a second coat of paint later on.
Step 5 – Prime the Cabinet Boxes
This is where having a paint brush comes in handy. You can use a roller or just dip your paint brush into the liquid and then spread it onto the surface of the cabinet. Make sure that you cover every part of the cabinet so that it’s primed properly. Then, wait until it dries before continuing with painting your kitchen cabinets!
To help prevent any unevenness in the paint, you should prime your cabinets before painting them. You can use standard white or gloss primer with a small roller, or you can mix your own primer to give it a custom look. Once your primer is dry, you’ll be ready for paint!
Step 6 – Use Sandpaper, Then Caulk for A Smooth Finish
Once you’ve finished painting your cabinet hardware, it’s time to seal everything up with a fresh coat of paint. If you do this before you finish the paint job, then you’ll be able to avoid any paint bleed out and ensure that your kitchen cabinets stay looking great for as long as possible. When it comes to sealing your kitchen, we recommend using a high-quality silicone caulk on all seams and joints where two surfaces meet each other.
This will also prevent any ugly spots from popping up in your paint job and ensure the smoothest finish. If you want to get really fancy, then consider using epoxy instead of silicone. Epoxy is extremely durable, though it can be more expensive than silicone.
The final step before taking down all the furniture in the room is filling up any cracks or holes left behind by the old cabinet doors and drawers. Use a putty knife or a chisel to scrape away at the old caulking and break it apart into small pieces before inserting new pieces into these spaces. These will further ensure you get the smoothest finish and longevity.

Step 7 – Apply a Coat of Paint to the Cabinet Boxes
Start by painting the cabinet frame. If you have been using a caulk gun to apply paint to your cabinet boxes, you may want to switch over to a brush and roller set for the smoothest finish.
You’ll be able to paint the entire inside your cabinets with ease, as opposed to having a lot of prep work beforehand.

Step 8 – Prep, Prime and Paint the Cabinet Doors and Drawer fronts
For a painterly finish, prime and paint the doors, drawer fronts, and shelves on a flat surface before installing them in your cabinets. Paint the doors, drawers, and shelves first in order to achieve an even finish coat on all the surfaces and try to avoid air bubbles.
This is especially important for cabinet doors as well as drawer fronts. You can do this by using a floor or high-quality brush that is designed for painting on wood or plastic surfaces.

FAQs
How Much Does Painting Kitchen Cabinets Cost?
Painting your kitchen cabinets is probably one of the least expensive ways to spruce up the look of your space. There are countless high-quality paint options that can give your cabinets an ultra-modern finish. Additionally, painting is one of the easiest ways to transform the look and feel of your space in a short amount of time.
The range of painting prices varies depending on where you live and how detailed you want your project to be. The average cost of painting kitchen cabinets comes in between $130 – $200 USD. However, if you want a higher quality finish by hiring a professional, then this price range could come with an additional cost, depending on the amount of time needed to complete the work and the quality of the existing furniture.
How Long Does Painting Kitchen Cabinets Take?
Painting your kitchen cabinets is one of the easiest ways to update your space and make it appear more upscale. The right paint color can enhance the beauty of your cabinets while also accentuating their beauty features, like the wood grains or brass accents.
Kitchen cabinet paint colors can be a little tricky, so it’s important to do your research first. Keep in mind that you want to choose a color that will complement the other decor elements in your kitchen while still being bright and eye-catching.
Should I Hire a Professional and Save Time?
If you have never painted before, you may be wondering whether it’s worth doing it yourself. While hiring a professional painter might seem like the most convenient option, it isn’t always the best choice. It’s true that you’ll save money by not having to pay someone else to do the job. But, you won’t get the same results.
Professional painters know what they are doing and have access to the latest tools and equipment. They can use these tools to ensure that your kitchen cabinets are properly prepared prior to applying the paint. This means that they can apply the paint evenly without leaving unsightly brush strokes, and they’ll know the tricks to improve dry time as well,
When you hire a professional painter, you can rest assured knowing that they will leave not just the wood surfaces but your home as clean as they found it. You don’t need to worry about cleaning up after them either.
When you decide to go ahead and hire a professional painter, make sure to ask questions about the type of paint they use for kitchen cabinet painting. Ask if they use any special paints such as eco-friendly paints and if they offer free samples. Also, find out if they provide warranties on their work.
Kitchen Cabinet Painting is Rewarding
Painting your kitchen cabinets is a great DIY project and a cheap way to give your kitchen a facelift. Whether you’re looking for a simple refresh or a complete overhaul, it’s a great way to learn a new skill and keep busy. Plus, you’ll be seeing the rewards of your labor that will last years!
Keep reading for more top tips!